How to Create an Offset design in Silhouette Studio
Published by Kyle on Apr 26th 2019
How to create an offset design in Silhouette Studio.
I will go over the steps to create an off set on any image you wish to inside the Silhouette studio software.
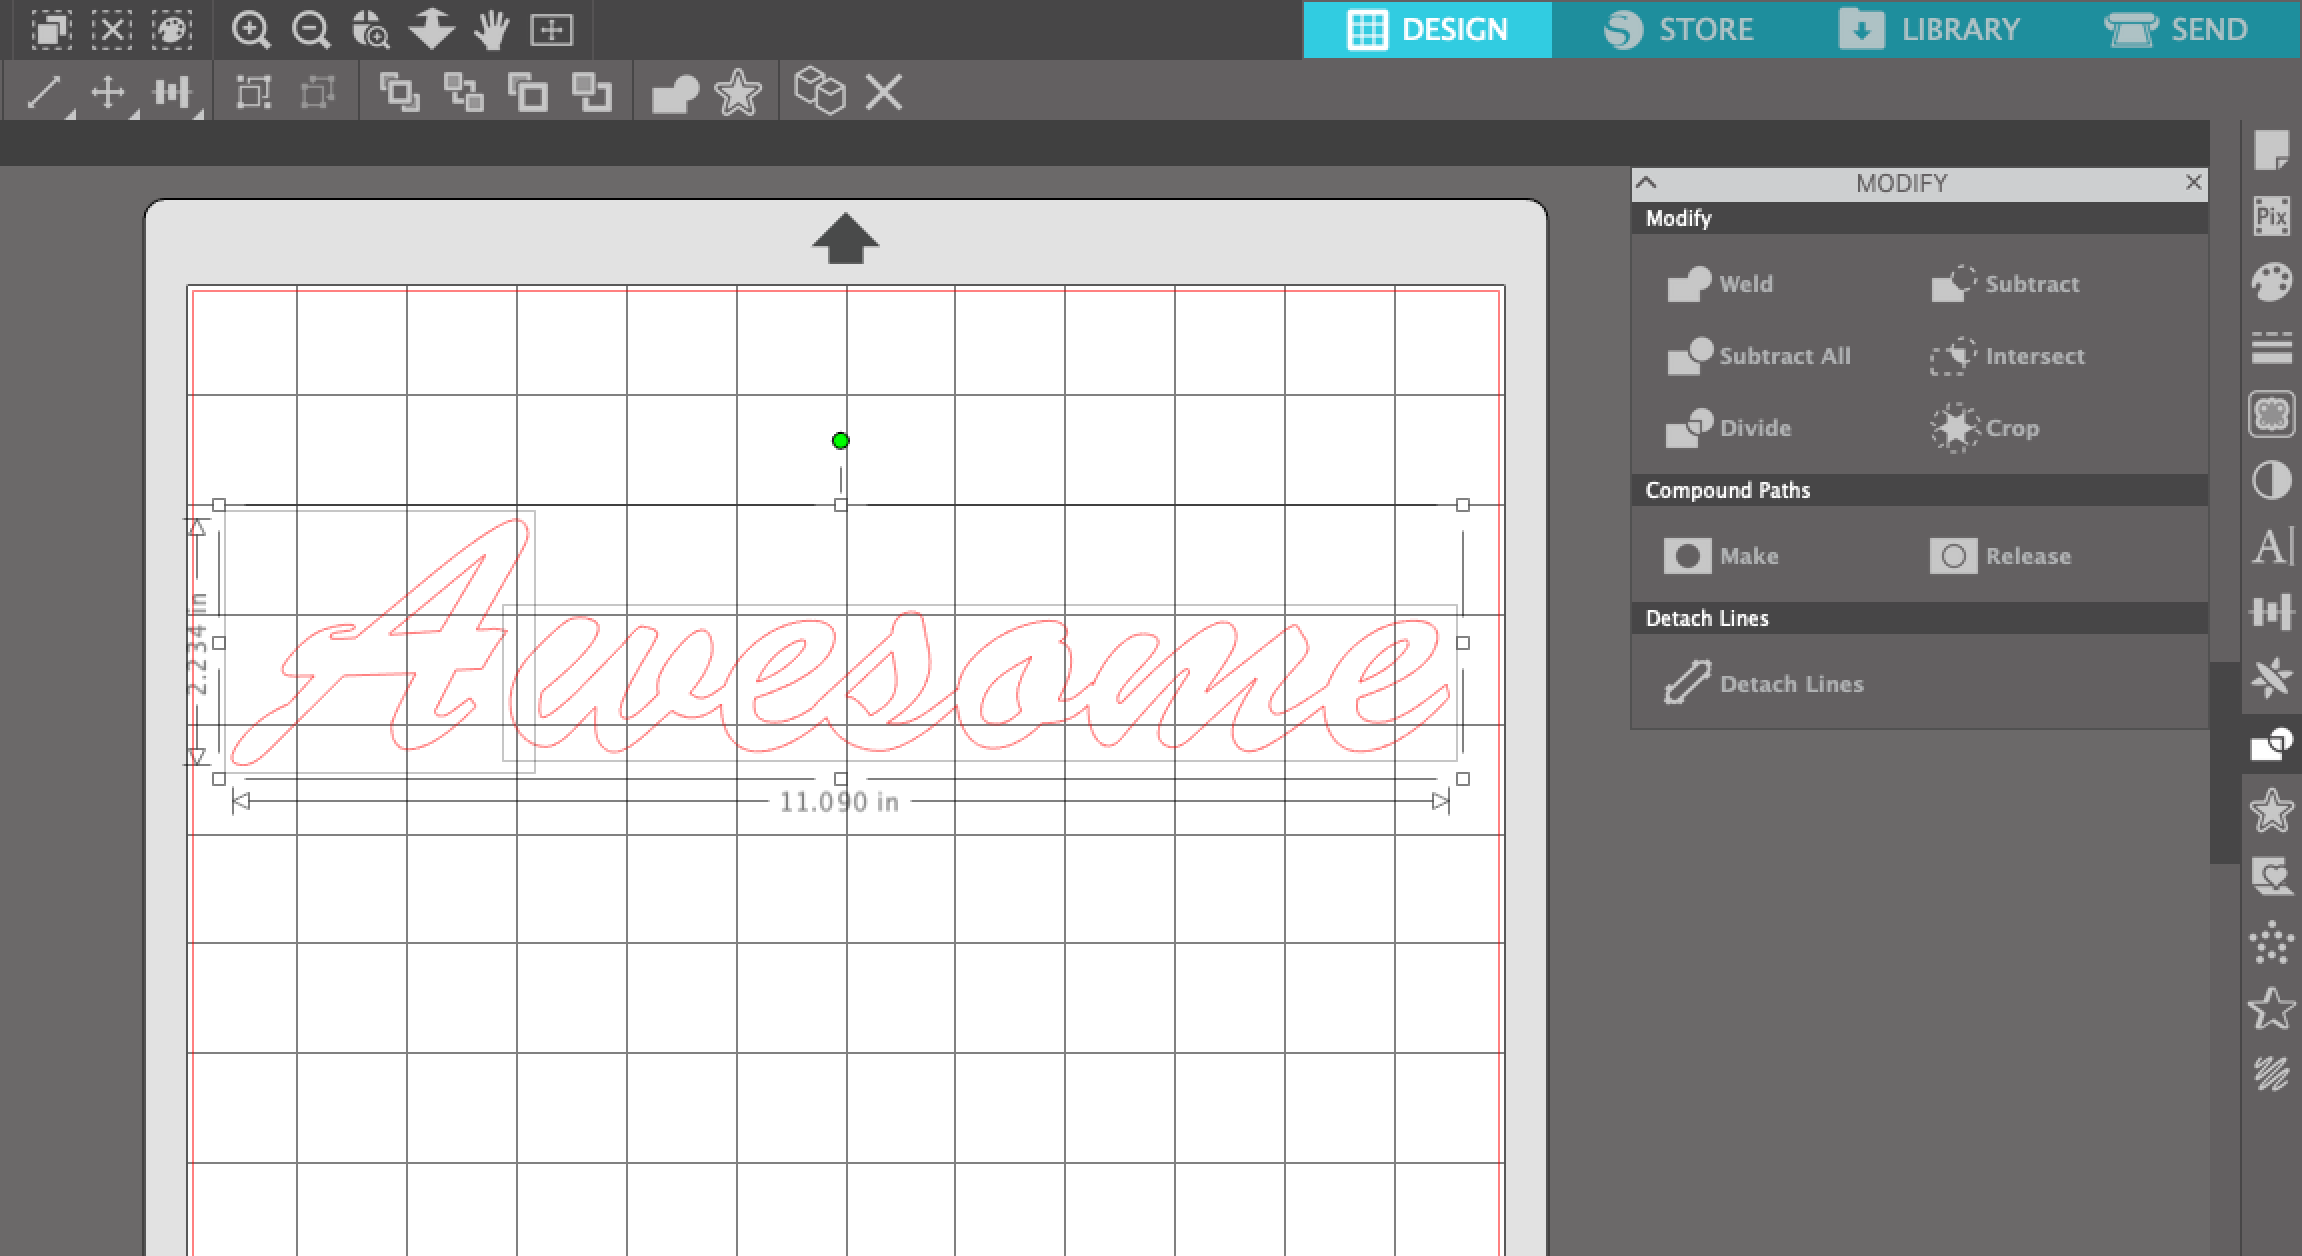
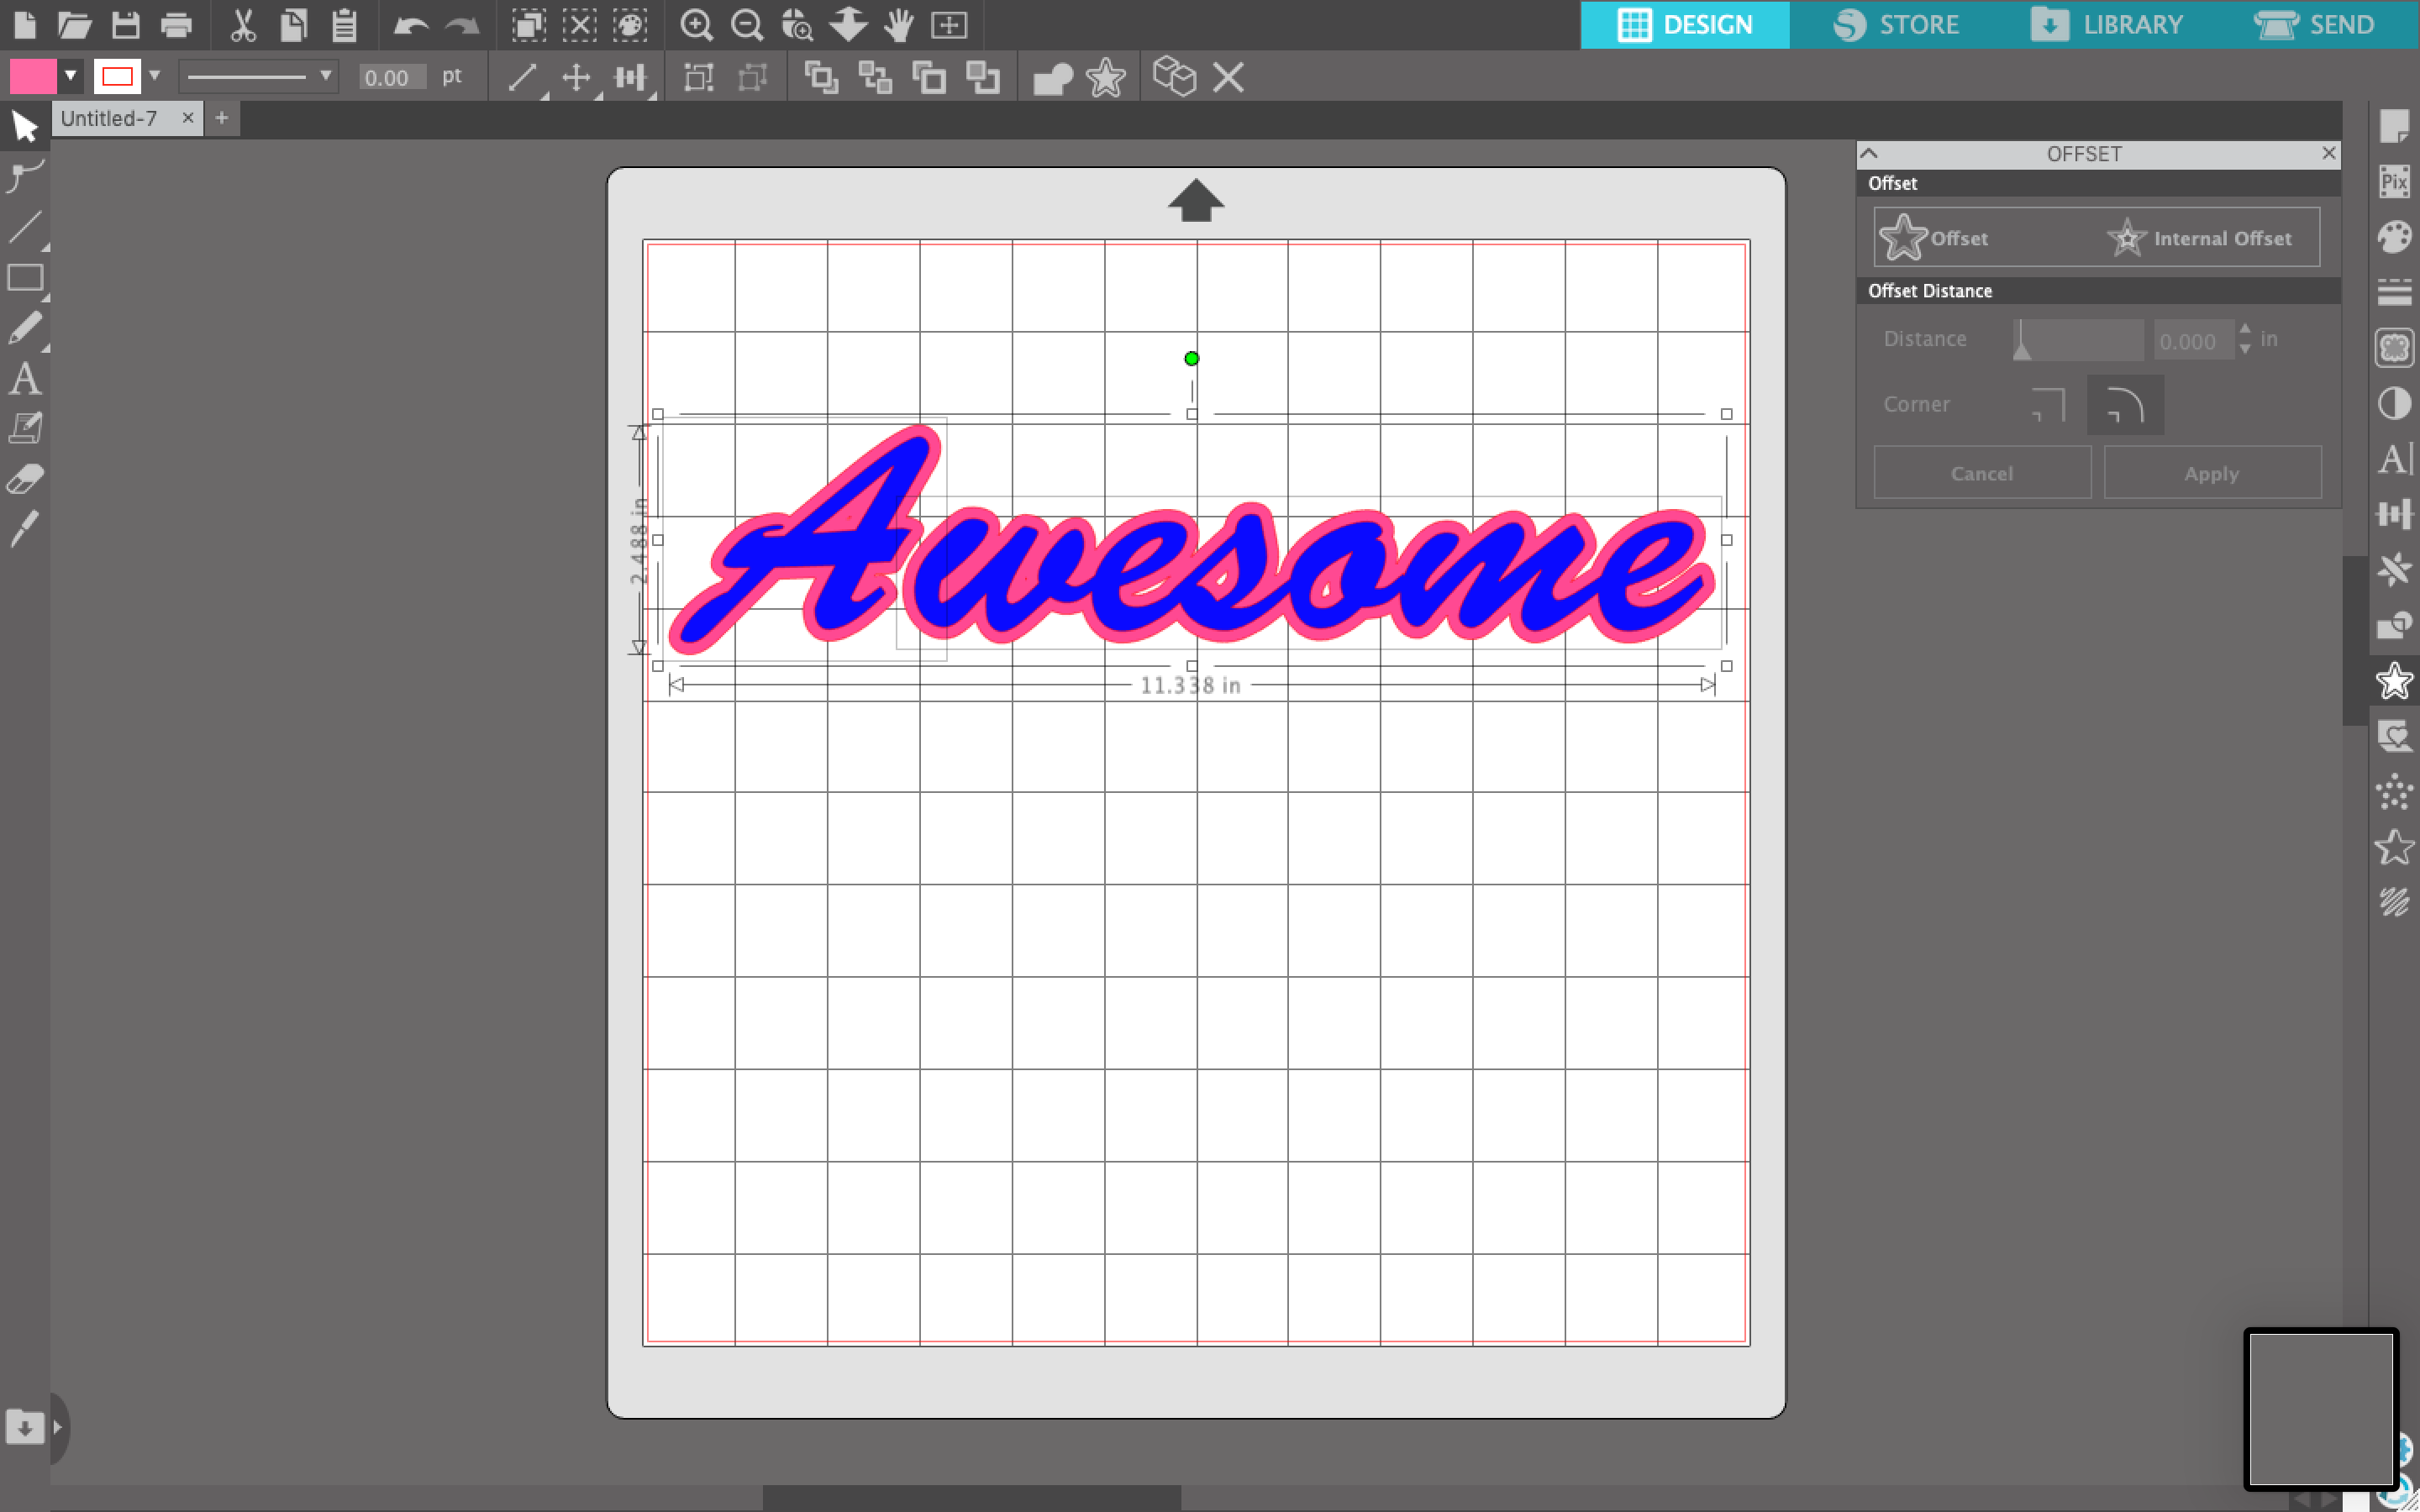
First select the design that you want to create an offset design around. In the image below I typed the word awesome and welded it to together using the weld tool in the Modify panel. (This can also be done by right clicking the image and then choosing weld).
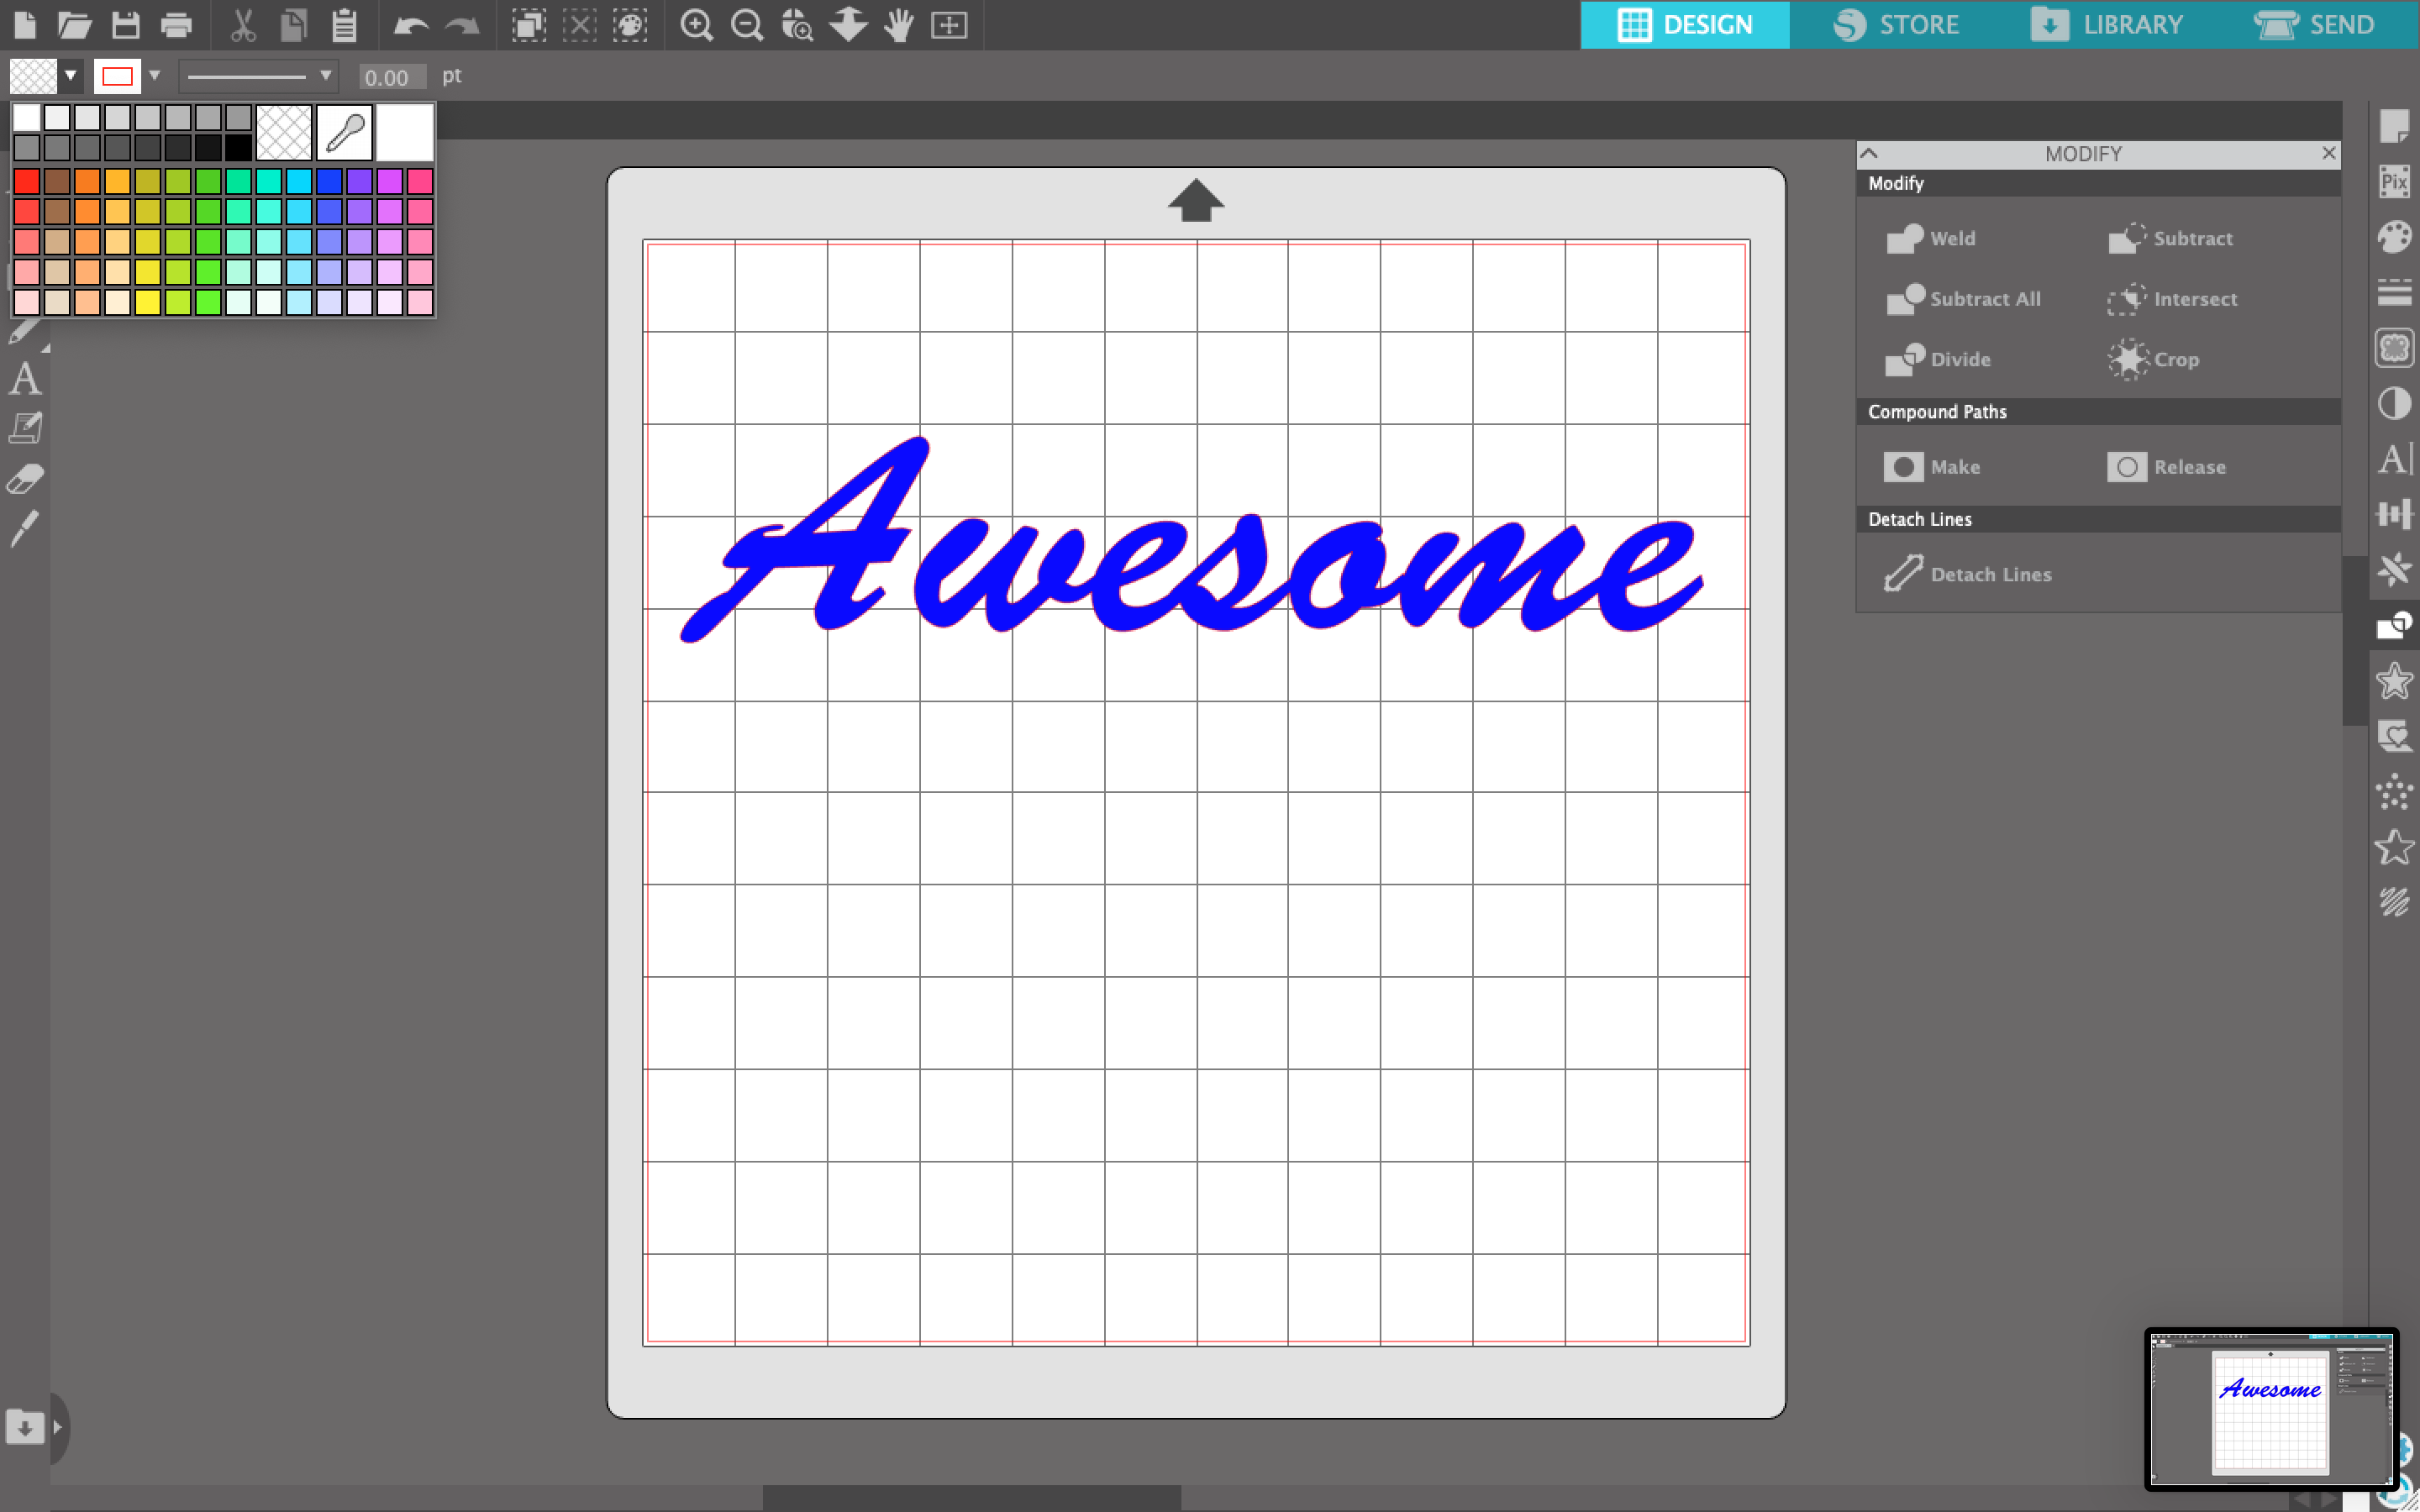
I then colored the Text using the color palette at the top left of the screen.
I then open the offset panel on the right side (its a Star).Make sure that the image is selected.
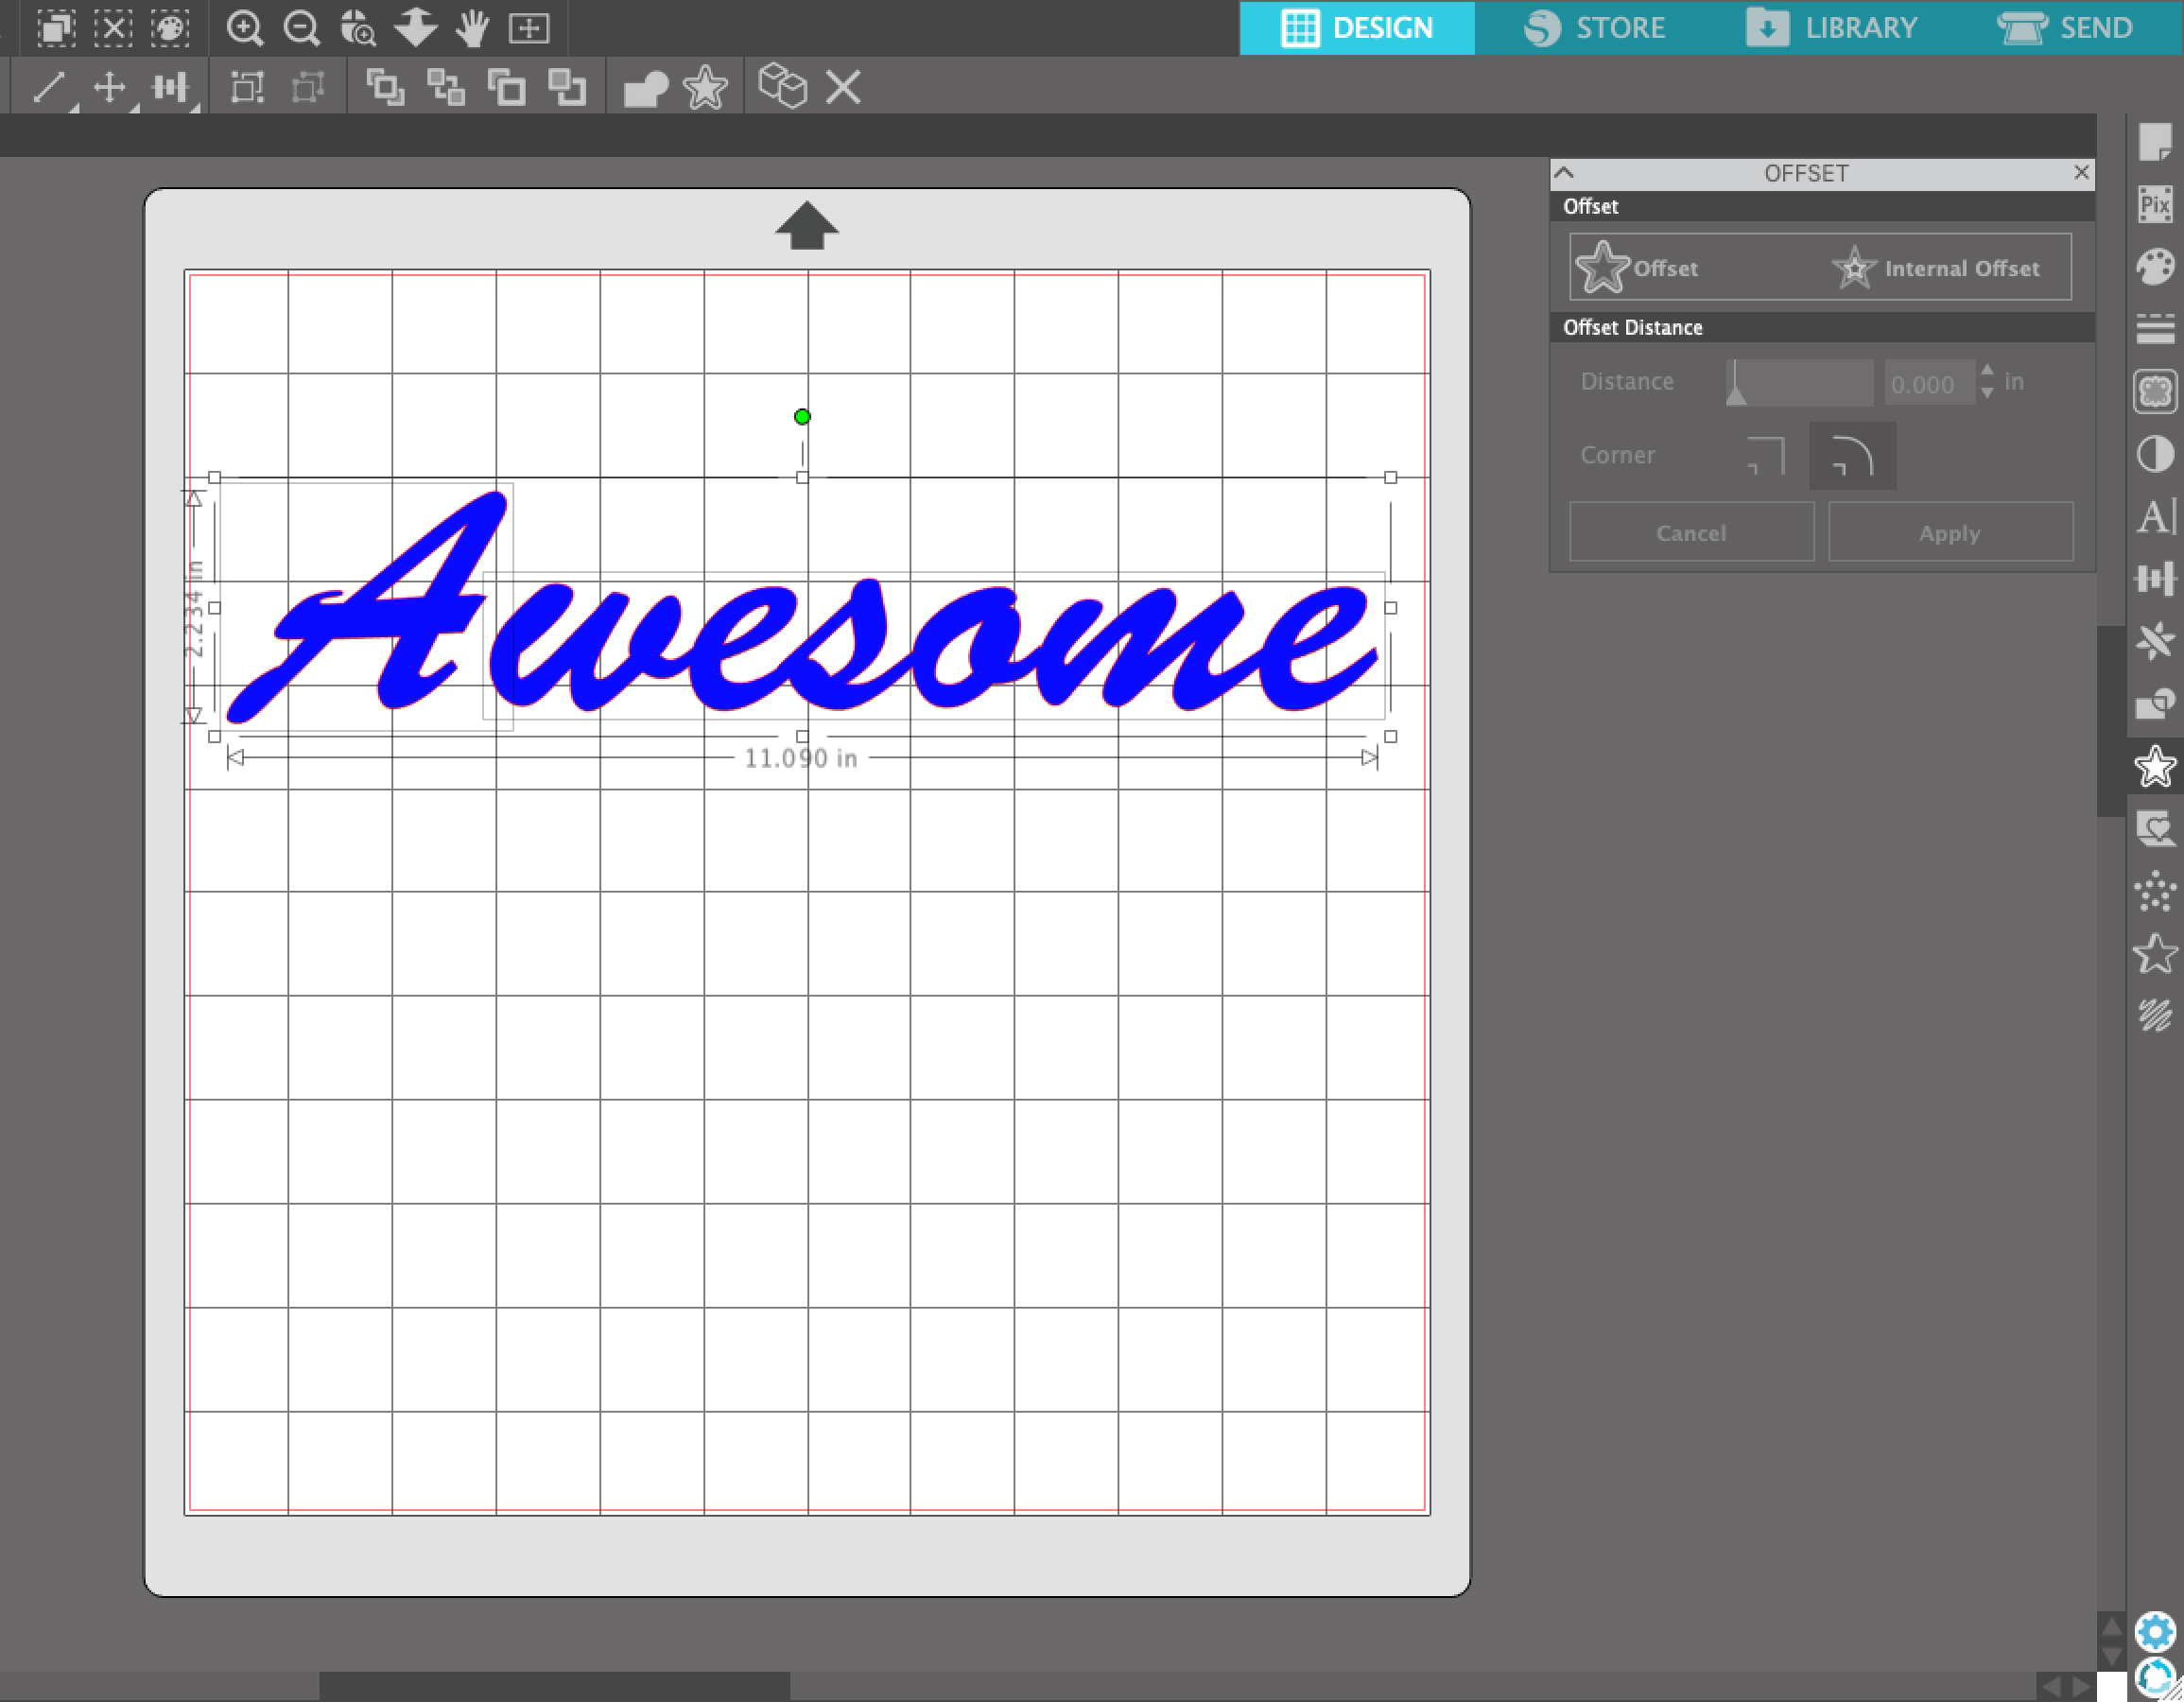
I then click on the "Offset" button and it creates an "outline" of the image, creating the "offset".
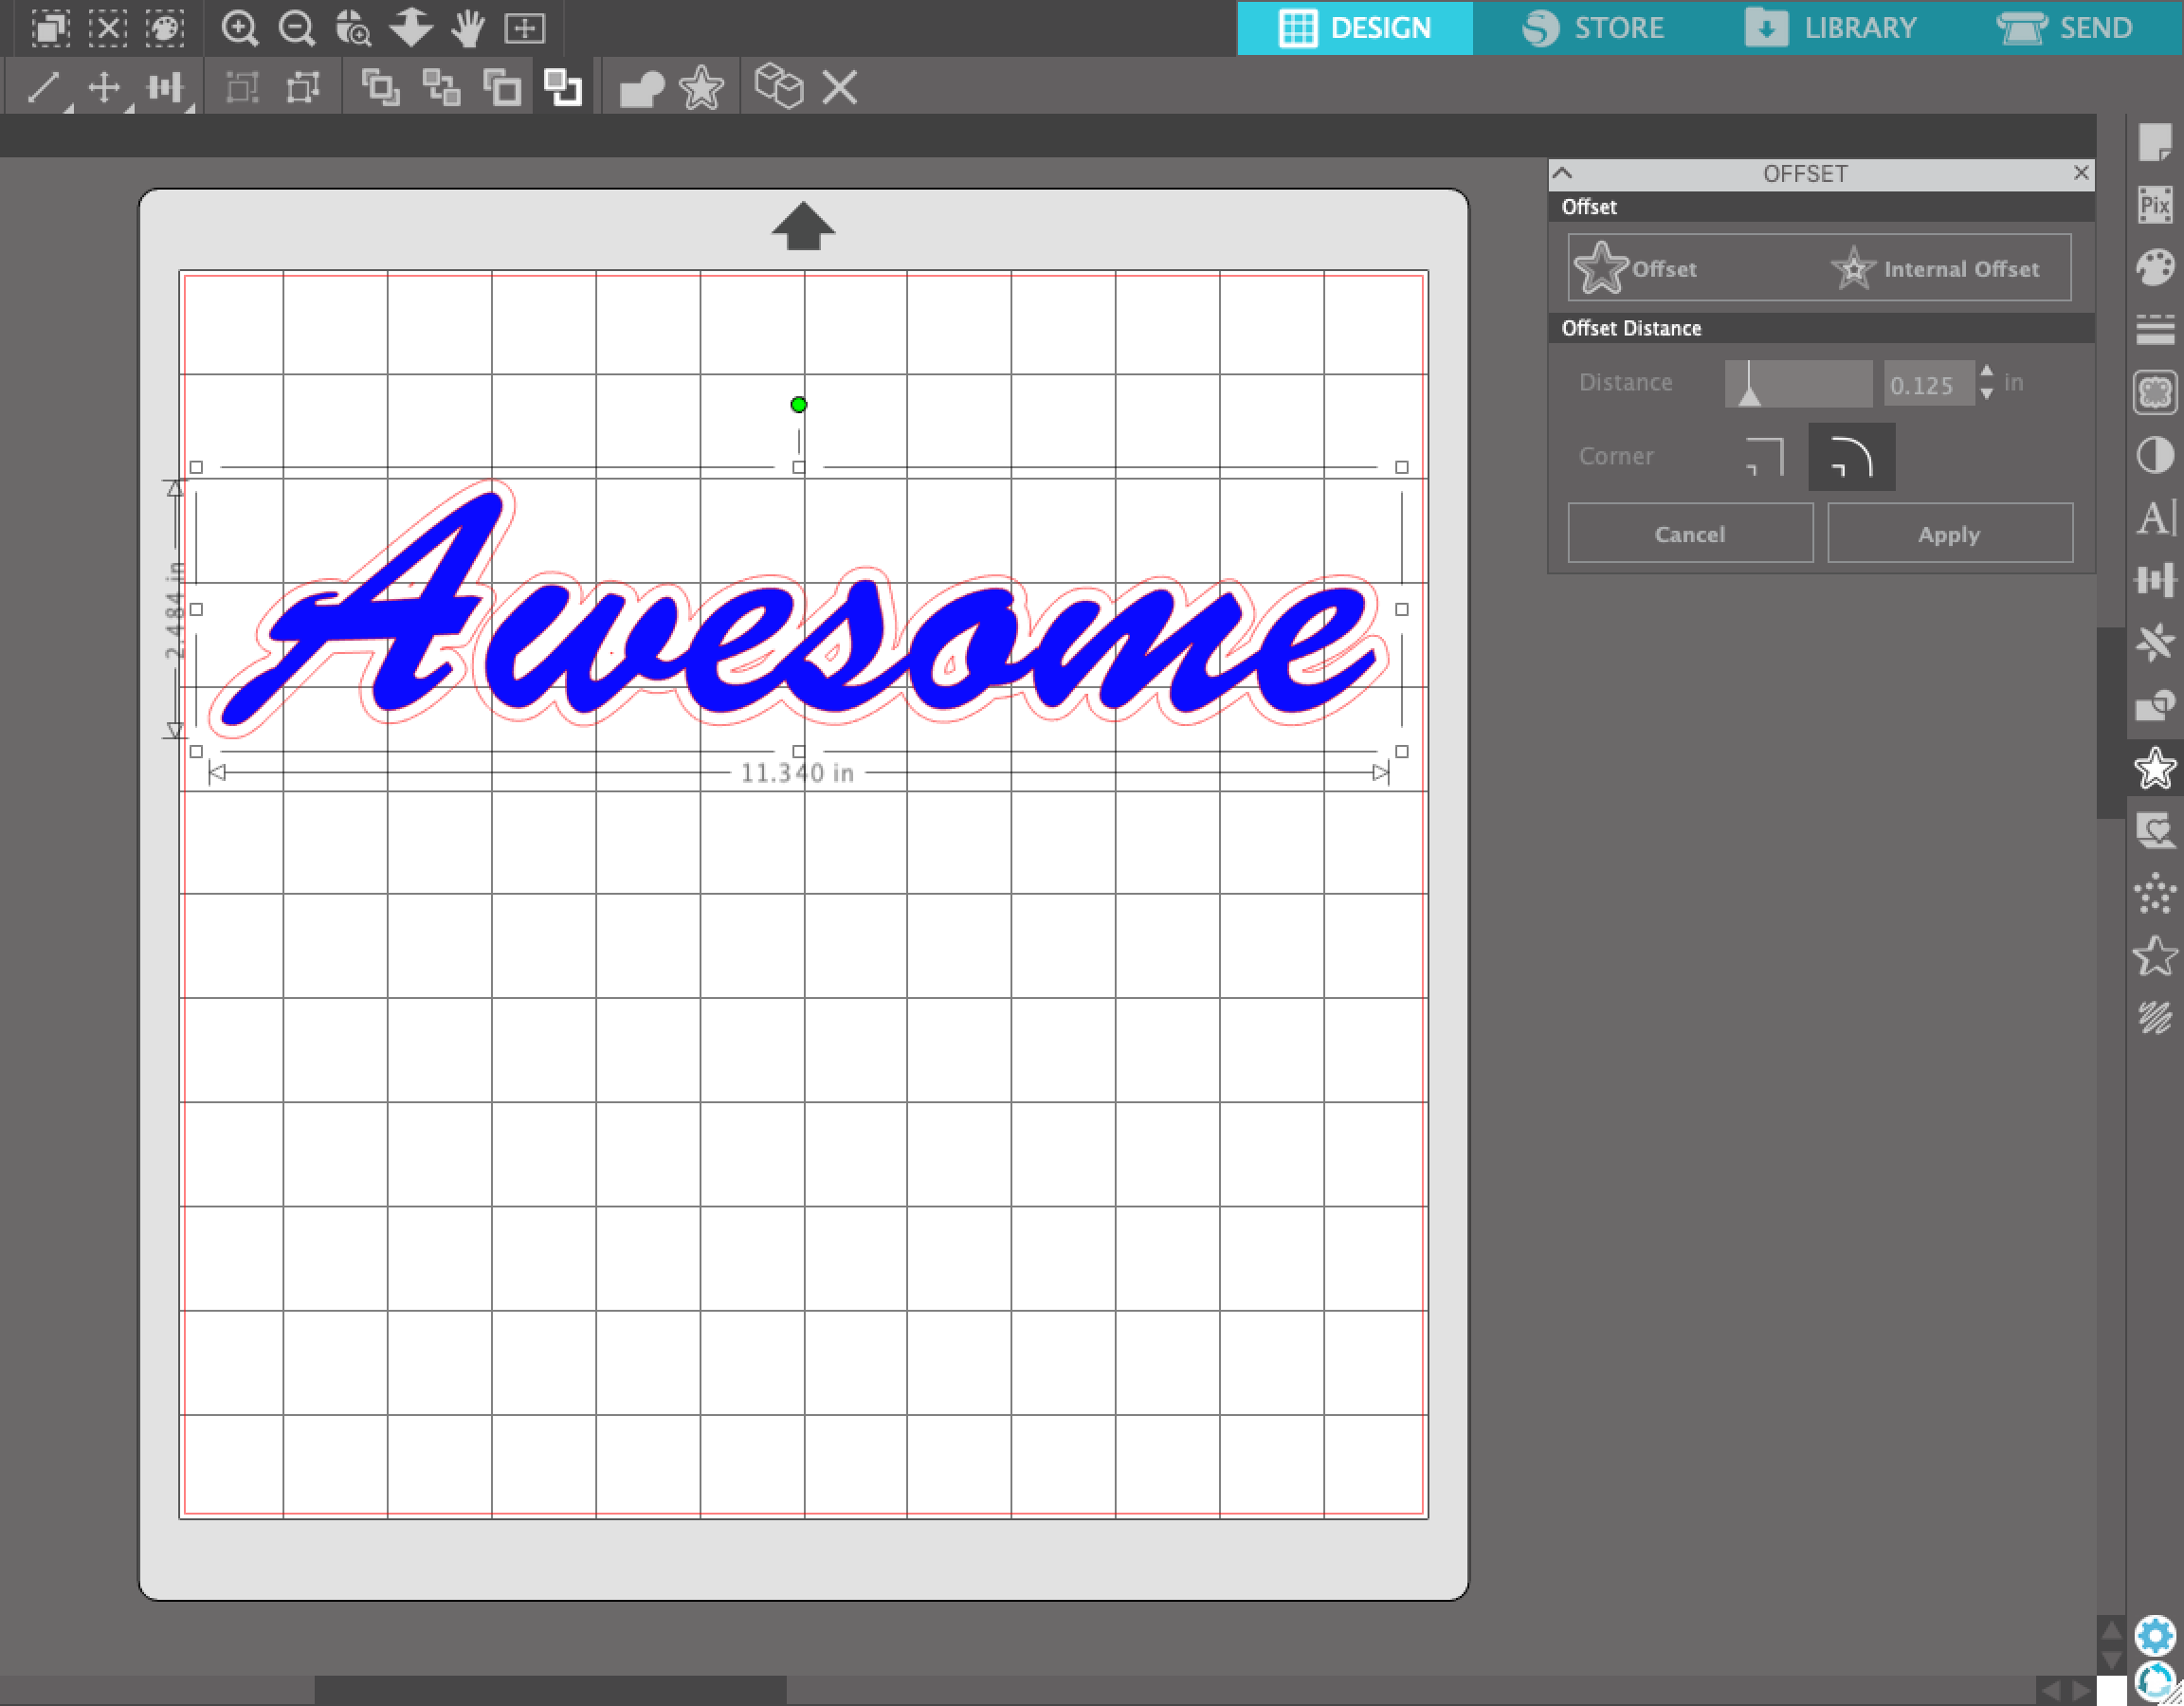
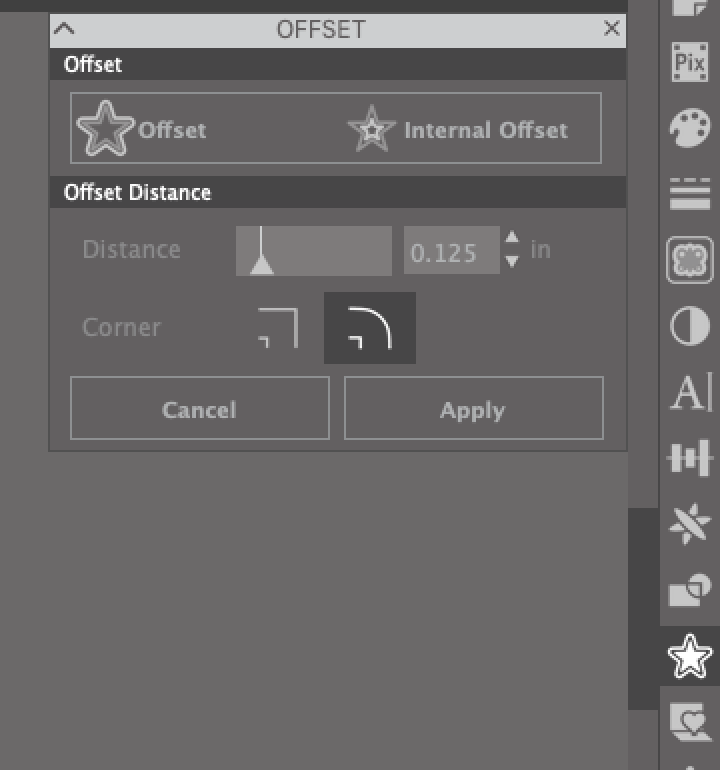
You can adjust the thickness of the offset using the distance slider, and also choose round or curved edges.
I recommend adjusting these to get the desired effect that you want.
You can then color in the Offset to the desired color that you want.
That is how you create an Offset in the silhouette studio software. If you have any questions about this you can contact us and we will help as best we can.
We also have a video on our YouTube Channel on how to create the offset in the silhouette studio.
You can see it HERE: